Metadata Utility’s is built with powerful Advanced Filters Functionality to assist us in:
-sorting the data set that we need to migrate
-edit those applicable records, and lastly
-generating the new XML Files once the Media has been moved to the new location.
For this example, we want to filter all movies that are stored in the ‘Zz\Wmedia’ Share.
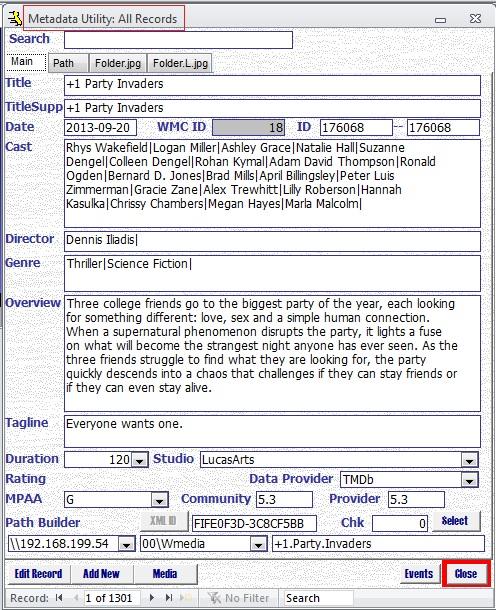
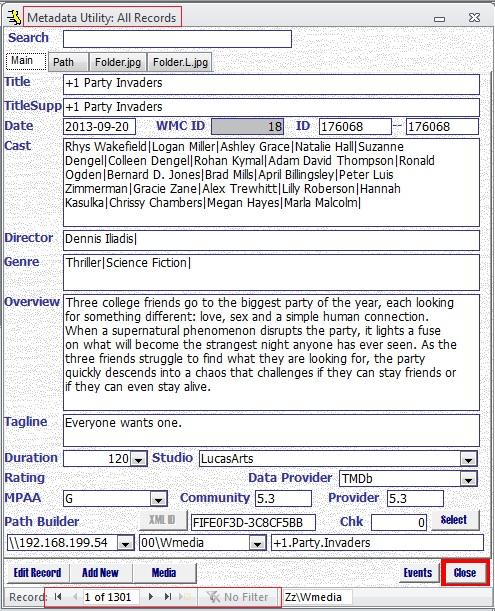
-In Metadata Utility click the ‘Media’ Button 6 Times to cycle through all the Queues until you reach the Queue ‘All Records’
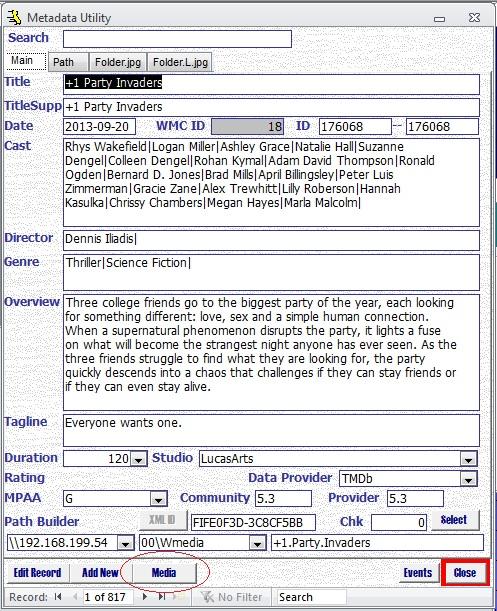
-Options
-Record Selector Button – Navigate until you reach a Record that has in the Path Builder 02 the Value ‘Zz\Wmedia’ (without the single quotes).
-Best Option – Advanced Filter Search Enter the parameter we are looking for in this example: ‘Zz\Wmedia’ (without the single quotes).
-Option – Record Selector Button – Navigate until you reach a Record that has in the Path Builder 02 the Value ‘Zz\Wmedia’ (without the single quotes).

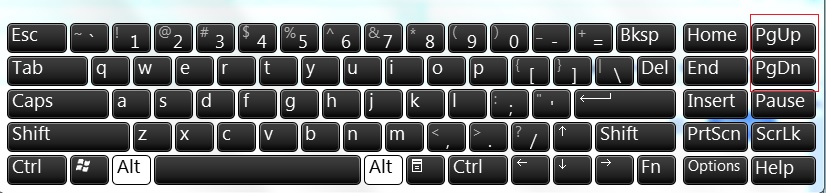
-Page Up and Down in your Keyboard – until you reach a Record that has in the Path Builder 02 the Value ‘Zz\Wmedia’ (without the single quotes)

-Best Option – Advanced Filter Search Enter the parameter we are looking for in this example: ‘Zz\Wmedia’ (without the single quotes)

As soon as you enter the Value ‘Zz\Wmedia’ (without the single quotes) in the Advanced Filter Search Field, you will notice that Metadata Utility will go directly to the first Record that meet the Criteria
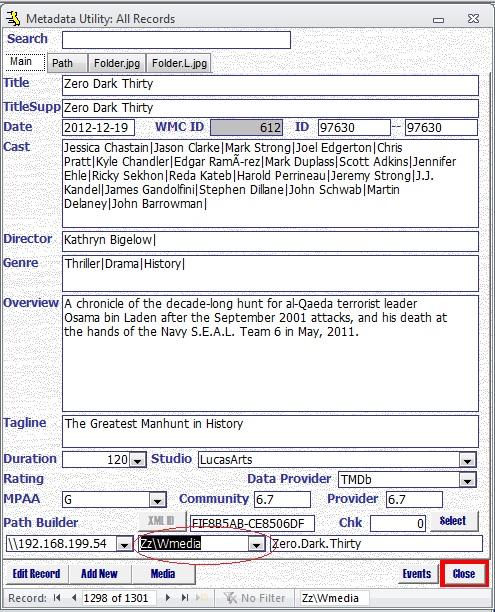
Once you are on a the Record that contains the Value that in this example we are looking for ‘Zz\Wmedia’ (without the single quotes), then:
-Right click on the ‘Media Builder 02’ Field and select
-Equals ‘Zz\Wmedia’
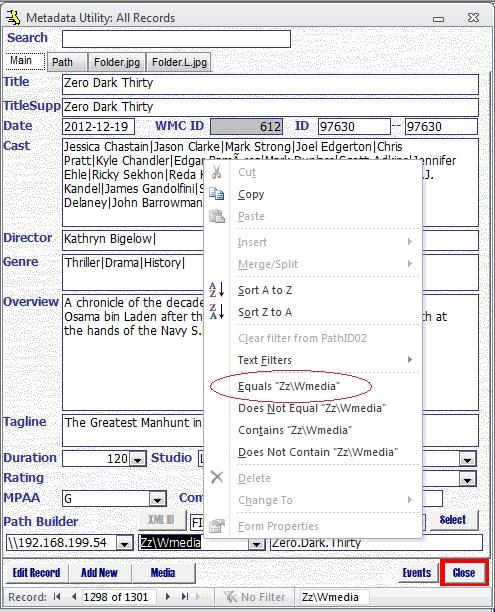
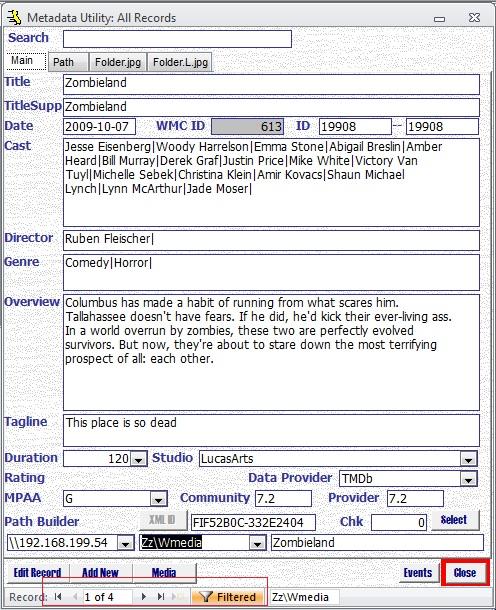
You will notice that immediately Metadata Utility will Filter and show only the records that Match ‘Zz\Wmedia’.
You will also notice that though you are still in ‘Metadata Utility: Show All Records’ Queue, however due to the Advanced Filter we just applied, now even in the ‘Metadata Utility: Show All Records’ Queue, you will ONLY have showing all records that match ‘Zz\Wmedia’
This example shows how you can easily ‘sort’ your Metadata Utility Records. For example, if you were moving all movies from ‘Zz\Wmedia’ from NAS ‘\\192.168.199.54’ to NAS ‘\\192.168.199.53’, then by using the Filter Option you can easily select those records, then easily edit each Record in within the Subset we just filtered and switch the NAS ‘\\192.168.199.54’ to NAS ‘\\192.168.199.53’. Once completed the migration of your Data to the new NAS, then you can easily Generate the updated/new XML File which with the updated Data Path’s for:
-Your Movies new location
-Coverart new Media Location
as well as any additional changes that you may have done on any of the other Fields in Metadata Utility (Cast, Director, etc)
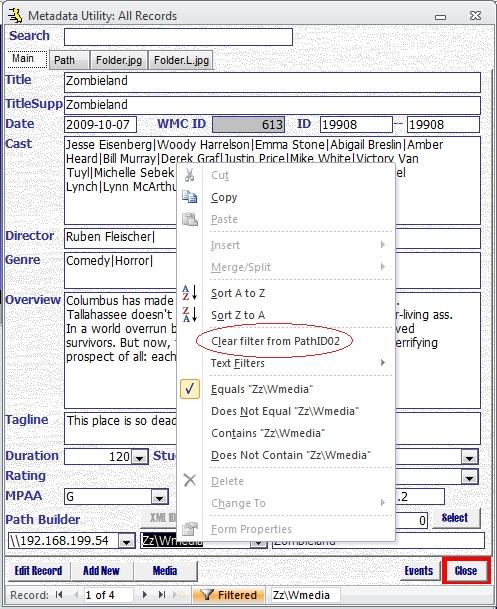
If you want to remove the Filter and go back to see ‘All Records’ you have options:
-Navigate to each Field that you have applied a Filter (yes, you can apply multiple Filters on multiple Fields), then
-right click and select (for this example) ‘Clear Filter on PathID02’ to go back to see all records again.
or
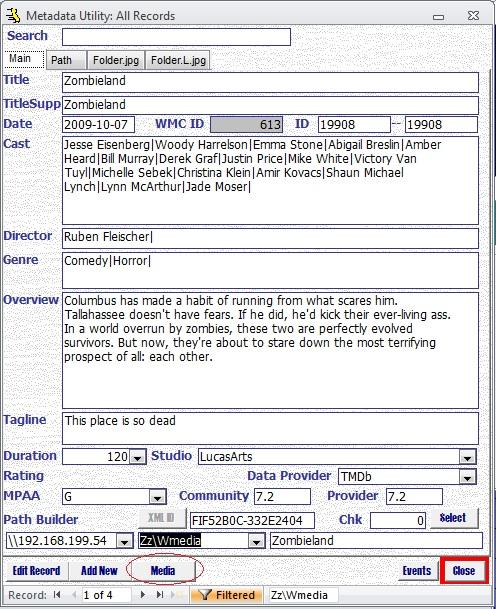
Simply using the Metadata Utility’s ‘Media’ Button, click again to cycle through until you reach the ‘All Records’ Queue again, ie. ‘Media’ Button 6 Times to cycle through all the Queues until you reach the Queue ‘All Records’.
Alternative, if you use Metadata Utility’s main ‘Search’ function (found on the top of Metadata Utility) to search for any other Movie in your Metadata Utility, the Advanced Filter will also be automatically reset/removed.
To continue with edit those applicable records, and lastly, generating the new XML Files once the Media has been moved to the new location, please refer to the section ‘Metadata Utility – How To’s – Metadata Utility – Bulk Update Process (BUP)’
Note:
After removing an ‘Advance Filter’, there still may be any valued you may have typed in the ‘Advance Search’ Box at the bottom in Metadata Utility still visible. This however, does not have any impact on either the operation (Search, Filters, etc) and other commands that you may execute in Metadata Utility.
For major migrations and/or bulk processing, you can use Metadata Utility’s Bulk Update Process (BUP). For more Information, see section: How-To’s – Metadata Utility – Bulk Update Process (BUP) (click here)
Results
As you saw in this exercise, Metadata Utility’s powerful Advance Filter functionality allows you easily Filter through your records and allow you easier Quality Review/Clean-Up, Migrate, Merge, Troubleshoot your entire Metadata Library.